

What Does The Change List Level Option In The Numbering Drop-down List Allow You To Do?
Lesson ten: Lists
/en/word/line-and-paragraph-spacing/content/
Introduction
Bulleted and numbered lists can be used in your documents to outline, arrange, and emphasize text. In this lesson, yous will learn how to modify existing bullets, insert new bulleted and numbered lists, select symbols as bullets, and format multilevel lists.
Optional: Download our practice certificate.
Sentinel the video below to learn more about lists in Give-and-take.
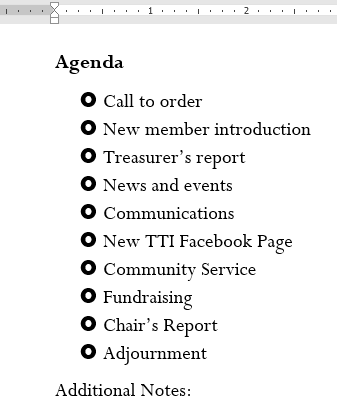
To create a bulleted list:
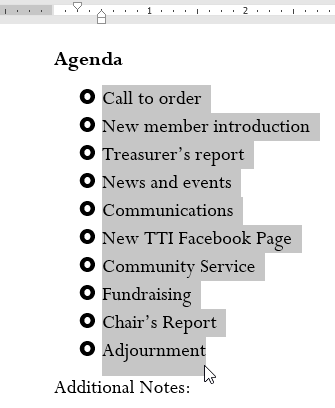
- Select the text you desire to format as a listing.
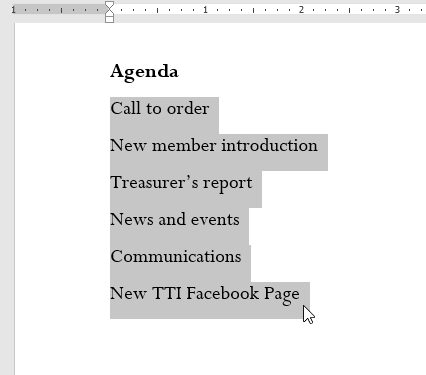
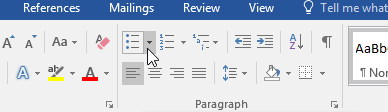
- On the Habitation tab, click the drop-down arrow next to the Bullets command. A menu of bullet styles will appear.
- Motion the mouse over the various bullet styles. A live preview of the bullet mode will appear in the document. Select the bullet style y'all desire to utilize.

- The text will exist formatted as a bulleted list.
Options for working with lists
- To remove numbers or bullets from a listing, select the list and click the Bulleted or Numbered listing command.
- When you're editing a list, you tin press Enter to kickoff a new line, and the new line volition automatically have a bullet or number. When yous've reached the end of your list, press Enter twice to return to normal formatting.
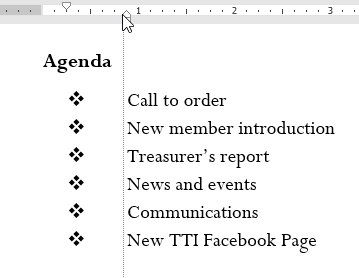
- By dragging the indent markers on the Ruler, yous can customize the indenting of your list and the distance betwixt the text and the bullet or number.
To create a numbered list:
When y'all demand to organize text into a numbered list, Word offers several numbering options. Yous tin format your list with numbers, messages, or Roman numerals.
- Select the text you want to format as a list.
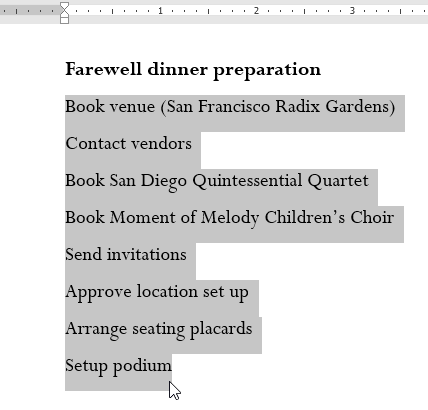
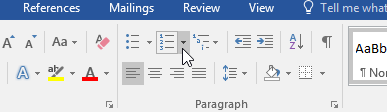
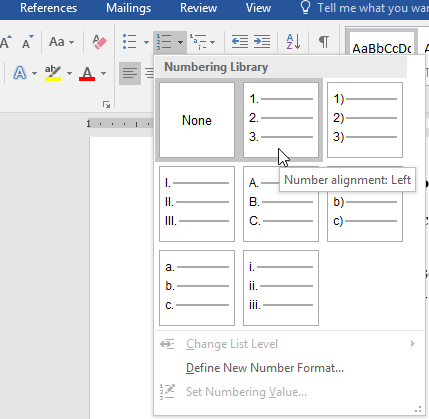
- On the Home tab, click the drop-down arrow next to the Numbering command. A menu of numbering styles will appear.
- Move the mouse over the various numbering styles. A live preview of the numbering fashion will appear in the document. Select the numbering way yous want to use.
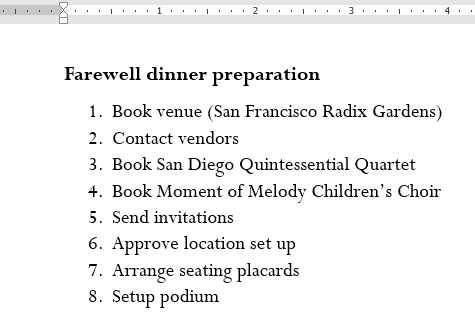
- The text volition format as a numbered list.
To restart a numbered list:
If you want to restart the numbering of a listing, Word has a Restart at ane option. It tin be applied to numeric and alphabetical lists.
- Correct-click the list item yous desire to restart the numbering for, then select Restart at 1 from the bill of fare that appears.
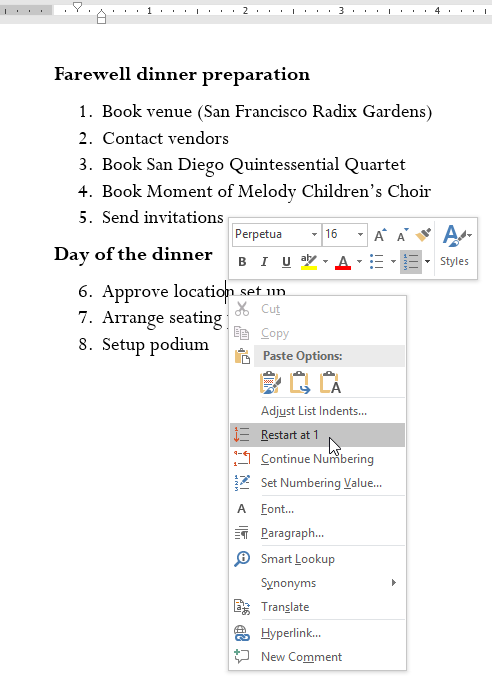
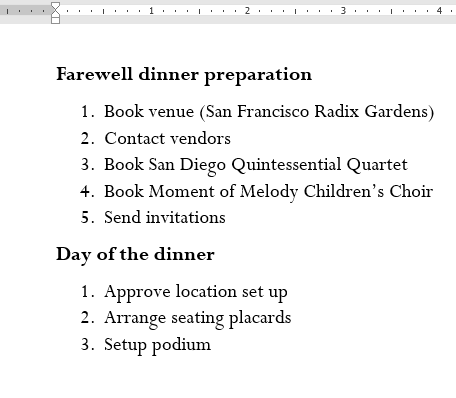
- The list numbering volition restart.
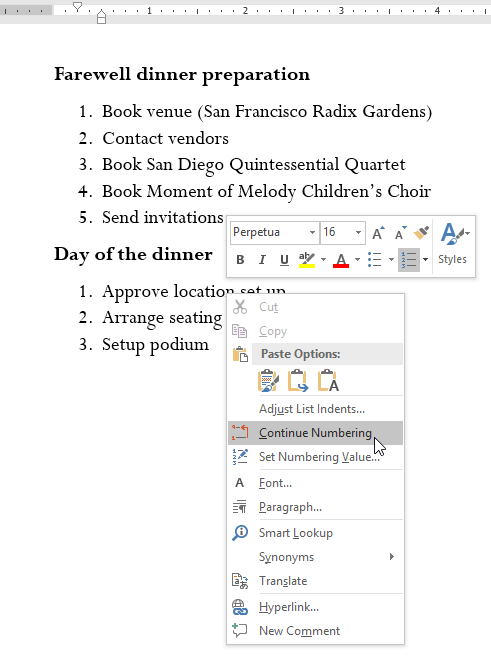
Y'all can also set up a list to continue numbering from the previous listing. To do this, correct-click and select Continue Numbering.
Customizing bullets
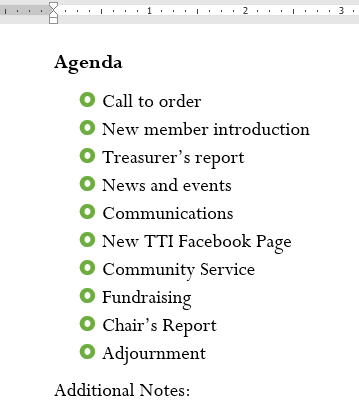
Customizing the look of the bullets in your list can help you emphasize sure list items and personalize the design of your listing. Discussion allows yous to format bullets in a variety of means. You lot can use symbols and different colors, or even upload a film as a bullet.
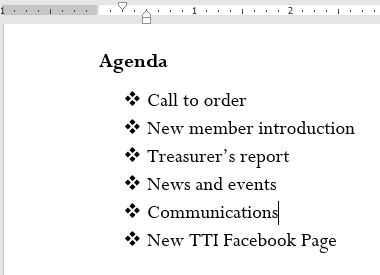
To apply a symbol every bit a bullet:
- Select an existing listing you want to format.
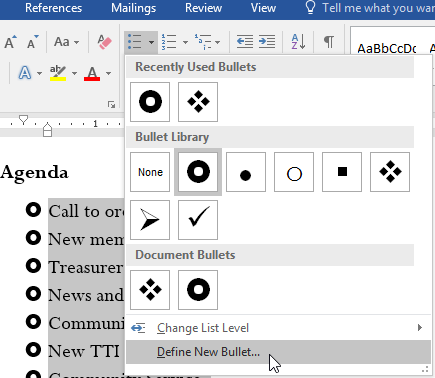
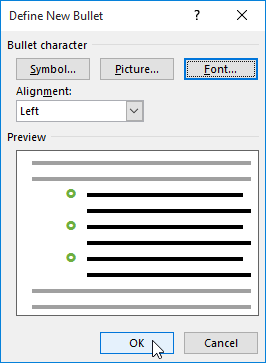
- On the Home tab, click the drib-down pointer next to the Bullets command. Select Define New Bullet from the driblet-down menu.
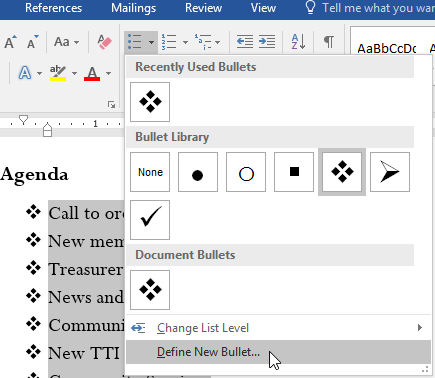
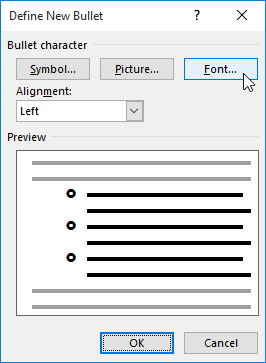
- The Define New Bullet dialog box volition appear. Click the Symbol button.
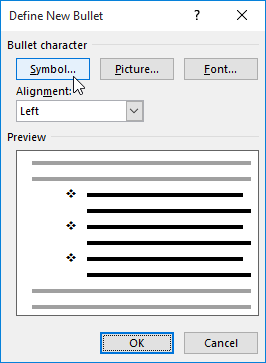
- The Symbol dialog box will appear.
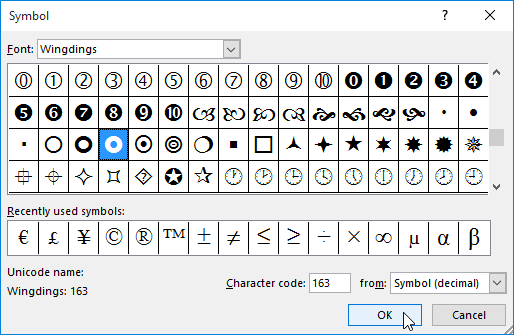
- Click the Font drop-down box and select a font. The Wingdings and Symbol fonts are good choices because they have many useful symbols.
- Select the desired symbol, and so click OK.
- The symbol will appear in the Preview department of the Ascertain New Bullet dialog box. Click OK.
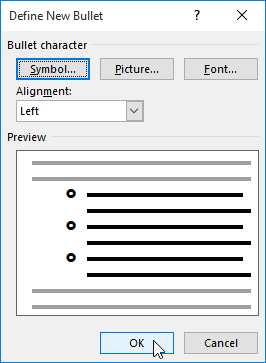
- The symbol will appear in the listing.
To change the bullet color:
- Select an existing list yous desire to format.
- On the Abode tab, click the drop-down arrow adjacent to the Bullets command. Select Define New Bullet from the drop-down menu.
- The Define New Bullet dialog box will appear. Click the Font button.
- The Font dialog box will appear. Click the Font Color drop-downwards box. A menu of font colors will appear.
- Select the desired color, and so click OK.
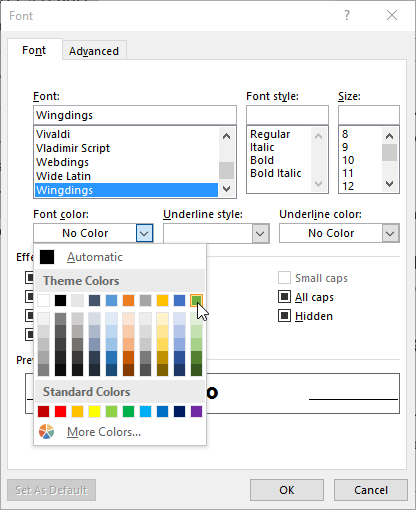
- The bullet color will appear in the Preview section of the Define New Bullet dialog box. Click OK.
- The bullet color will modify in the listing.
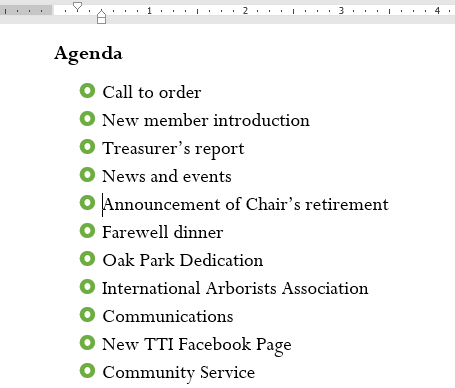
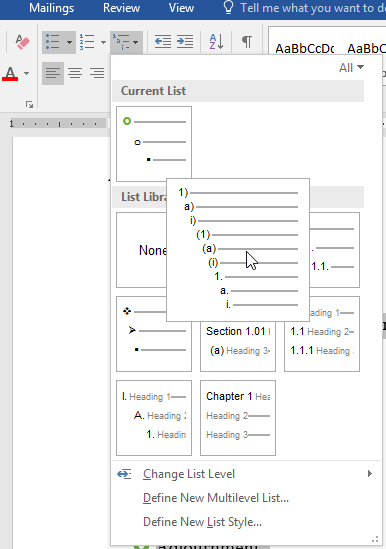
Multilevel lists
Multilevel lists allow you to create an outline with multiple levels. Any bulleted or numbered list can be turned into a multilevel list by using the Tab key.
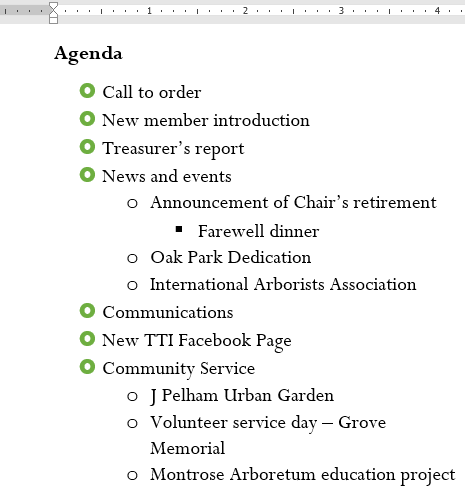
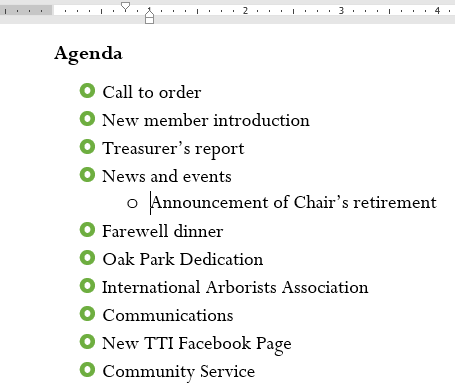
To create a multilevel listing:
- Place the insertion point at the beginning of the line you lot want to move.
- Printing the Tab key to increase the indent level of the line. The line volition motion to the right.
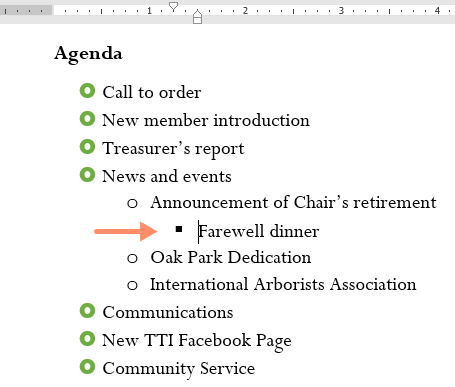
To increase or decrease an indent level:
Yous can make adjustments to the organization of a multilevel list by increasing or decreasing the indent levels. At that place are several ways to change the indent level.
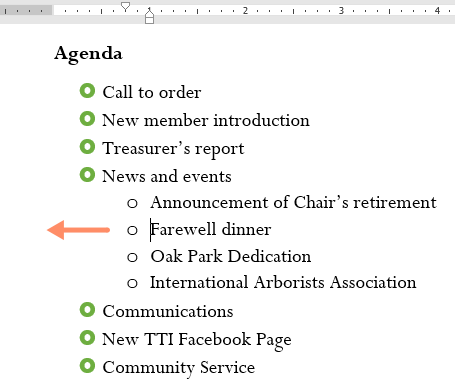
- To increase the indent by more one level, place the insertion point at the commencement of the line, then printing the Tab key until the desired level is reached.
- To decrease the indent level, identify the insertion bespeak at the beginning of the line, then hold the Shift central and printing the Tab key.
- You tin also increment or subtract the levels of text by placing the insertion betoken anywhere in the line and clicking the Increment Indent or Subtract Indent commands.
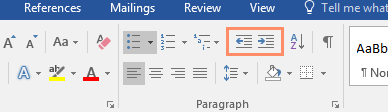
When formatting a multilevel listing, Word will utilise the default bullet style. To change the style of a multilevel list, select the list, then click the Multilevel list command on the Home tab.
Challenge!
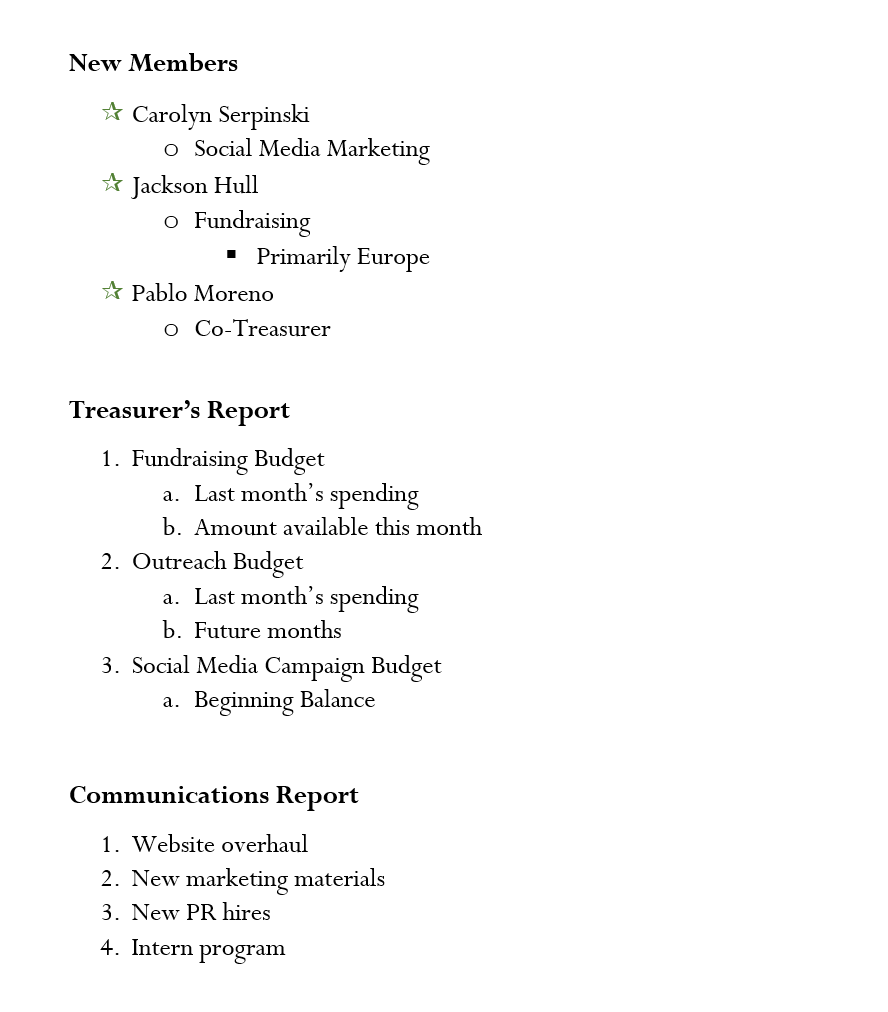
- Open our practice document.
- Scroll to page 3.
- Select the text under New Members starting with Carolyn and ending with Co-Treasurer, and format it every bit a bulleted list.
- With the text still selected, employ the Define New Bullet dialog box to change the bullets to a light-green star. Hint: You tin find a star in the Wingdings font.
- Increase the indent level by one for the lines Social Media Marketing, Fundraising, and Co-Treasurer .
- Increase the indent level by 2 for the line Primarily Europe.
- In the Treasurer's Study list, decrease the indent level by 1 for the line Amount available this month.
- In the Communications Study list, restart the numbering at one.
- When you're finished, your page should await something like this:
/en/word/links/content/

Source: https://edu.gcfglobal.org/en/word/lists/1/
Posted by: billswiclactustob.blogspot.com
0 Response to "What Does The Change List Level Option In The Numbering Drop-down List Allow You To Do?"
Post a Comment